
At YES Prep, we try to embrace technology and how it can help education for both students and educators. In previous articles, I wrote about how we use AI for answering questions related to data that exists in different areas of an organization such as a website, but what happens if you want to add the AI into the front end of your website? What if you use something like SharePoint and want to elevate the user experience even further?
How to get the embed link in CoPilot Studio?
SharePoint is a fairly old, but proven technology, but it was not ever envisioned to have a large language model to interact with it. Our first attempt was to take the simple approach and embed code from CoPilot Studio and add it directly to the SharePoint site. Here is how you would do that.
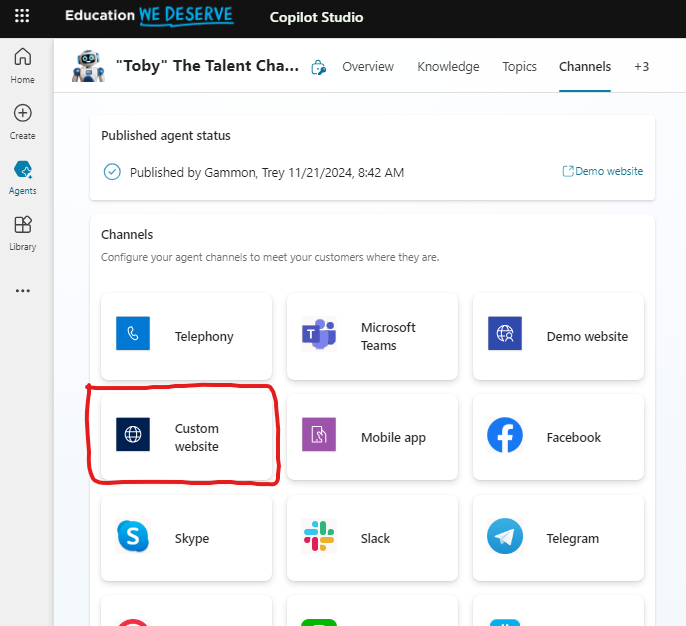
Within CoPilot Studio, click Channels and then Custom website.
You will be provided with the code you can embed. Since this is an iframe, it is fairly universal as it is an older method of embedding items into websites.
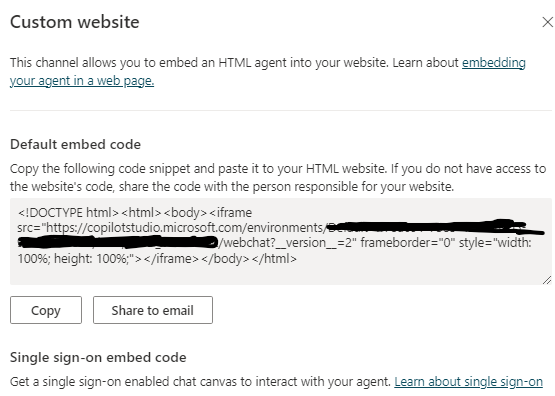
One problem with this method though is that it requires you to add the embed to all pages manually. That is a lot of manual work and can lead to errors especially if there are customizations on the pages or if the location is not standardized where the embedded code goes.
What is a SPFx?
To solve this problem, we will need to create a SharePoint Framework (SPFx) Application Customizer. Essentially, this is a piece of extra code that will run within our SharePoint environment. In our case, we are going to create a small bit of code to create an overlay window that will apply to the SiteContents of a SharePoint site and all subpages. It will detect the resolution of the user’s device and resize the Chat window accordingly. We will add LazyLoading which means modifying it to have a delay that so that it does not interfere with the loading of the main page. We also need to build in accessibility features for those that are vision impaired as well as a minimize or close feature so that the window does not obstruct content.
What are the requirements to setup a SPFx?
For this process I typically use a Virtual Machine since I can dynamically assign compute, memory, or storage. Probably the most important reason of all though is because I can also create a Snapshot and save my work like it is a video game. Note, I do use GitHub as well to backup code, but for rapid prototyping it is far faster to revert to snapshot that to run a git command to pull the last revision.
I have created other articles on VMware and snapshots so I will jump directly to what we need to do. First, we need to get NodeJS. Specifically, we need to use a LTS (Long Term Support) model which tend to be even versions. Fun fact, even versions of Star Trek films also tend to be the best.
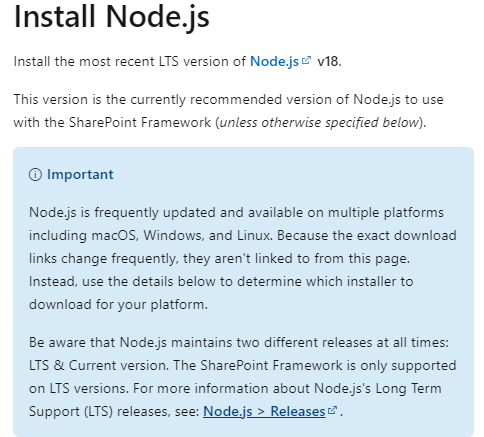
To get NodeJS, simply go to https://nodejs.org/en and download the LTS. To determine the LTS to use, you will need to check the vendor, in this case, Microsoft SharePoint. Here is an exert from the website. Note, it says v18 LTS, but v20 LTS works as of this article.
Once node is installed, we can run some commands.
- npm install -g yo gulp
- npm install -g @microsoft/generator-sharepoint
Afterwards you can run the following commands to verify everything.
- node -v
- npm -v
- yo –version
- gulp –version
If this yo and gulp do not work, you might not have added the -g parameter which installs it globally. Note, you might also need to reboot to make sure that Node takes effect since it modifies your Path environmental variable.
What are the steps to make the SPFx Project?
Now that we have the tools, it is time to build our scaffolding. Start by navigating to the directory you want to create the Project. As a tip, I tend to think of Projects as independent groups based on a type of infrastructure, group of users, or other areas. I would advise against just a generic folder for your work as it can make it easier to reference later and as you get more familiar or work with more Projects. It definitely helps to have them grouped together.
Next, run these commands.
- mkdir FloatingWindowExtension
- cd Floating WindowExtension
- yo @microsoft/sharepoint
You will be prompted with some questions for your Project. Here is an example we will use.
- What is your solution name? FloatingWindowExtension
- Which type of client-side component to create? Extension
- Which type of client-side extension to create? Application Customizer
- What is your Application Customizer name? FloatingWindowCustomizer

Now that our framework and scaffolding is made, it is time to create our code. For this, we will use VSCode. Since I am using another machine to connect to my VMware host, in VScode I add the Folder to the Workspace.
VSCode time.
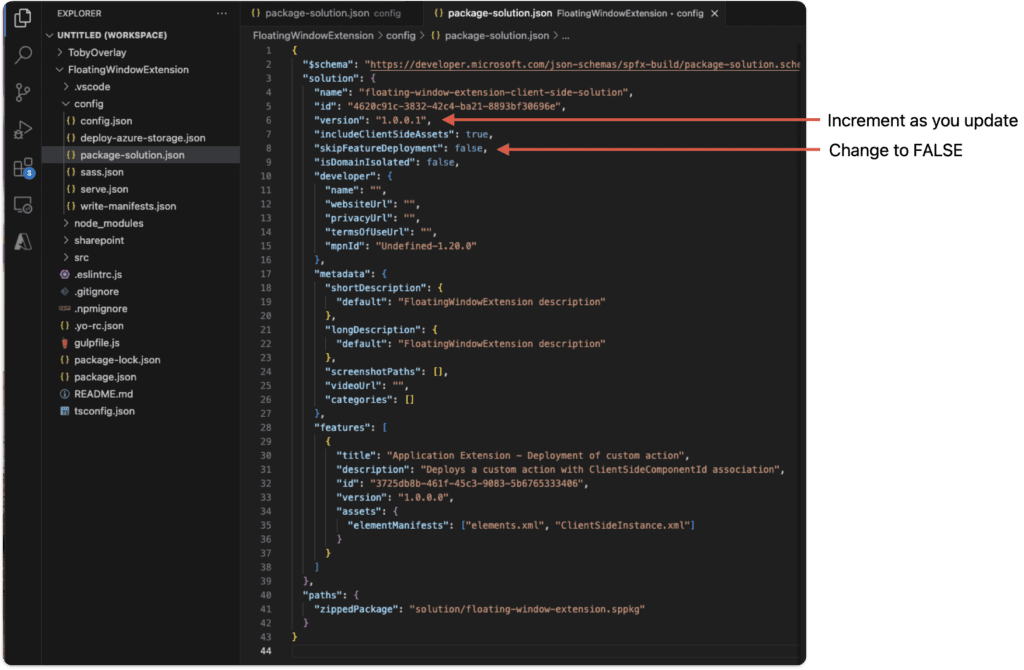
One of the first things we will need to do is modify the package-solution.json. Specifically, we can increment the version numbers as we make changes and more important of all, update the skipFeatureDeployment to FALSE. The reason for this change is that if you have TRUE, then it will want to apply the SPFx file we are creating to your entire organization’s SharePoint domain. What we want is to only apply this to a specific set of sites within our SharePoint hence the FALSE value. This is also important for testing ahead of time as well to minimize any disruptions.
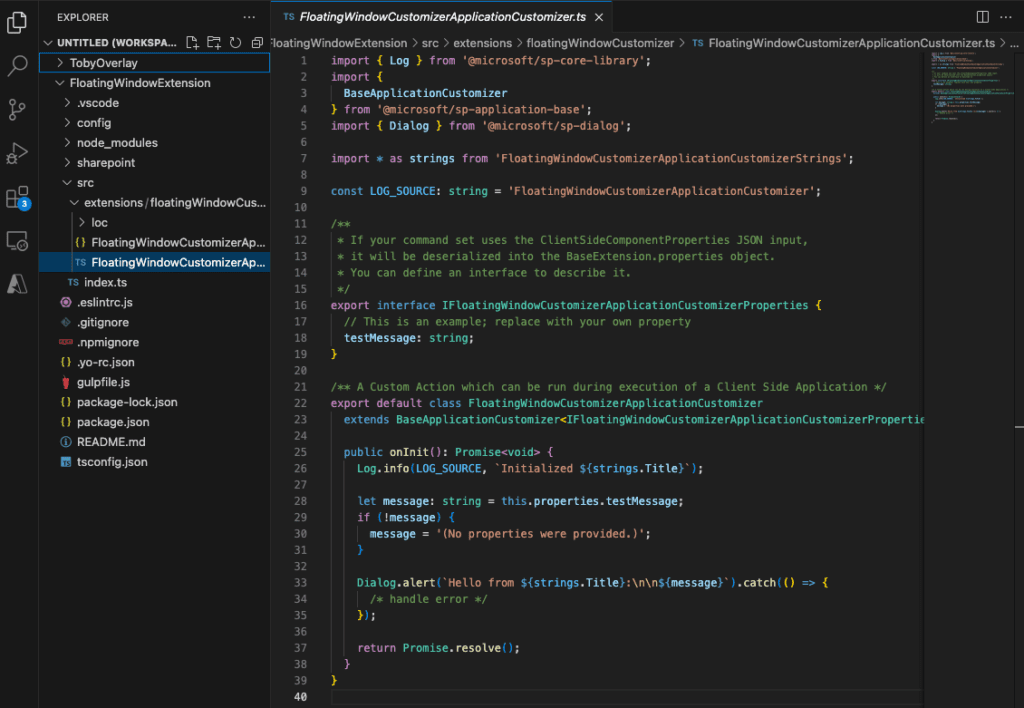
Next, we can add in our custom code. Inside VSCode, open up the TypeScript file at /src/extensions/FloatingWindowCustomizer/FloatingWindowCustomizer.ts
Here is what the default value is when created via yo.
The next step is to overwrite that file with your own desired code. In the case of this article, I am using the code from my repository at: https://github.com/Palvaran/SharePointWindowOverlay/blob/main/src/extensions/tobyOverlayCustomizer/TobyOverlayCustomizerApplicationCustomizer.ts
Note, as written in the README.MD in GitHub, you will need to create and edit config.json within the /src/extensions/tobyOverlayCustomizer/config.json to point to your CoPilot Studio embed url. Example: “https://copilotstudio.microsoft.com/environments/Default-XXXXXXX-XXXX-XXXX-XXXX-XXXXXXXXXXXX/bots/cr0fd_copilotPocTemporary/webchat?__version__=2“
Time to wrap up the SPFx in time for an early Christmas.
Now that the code is created, we need to package it up. For that, we are using gulp. Run these commands to create a file that can be used within SharePoint.
- gulp clean (Only needed if you have to recompile or make changes after you build and package)
- gulp build (Compile the TypeScript code)
- gulp bundle –ship (Bundles the solution for production)
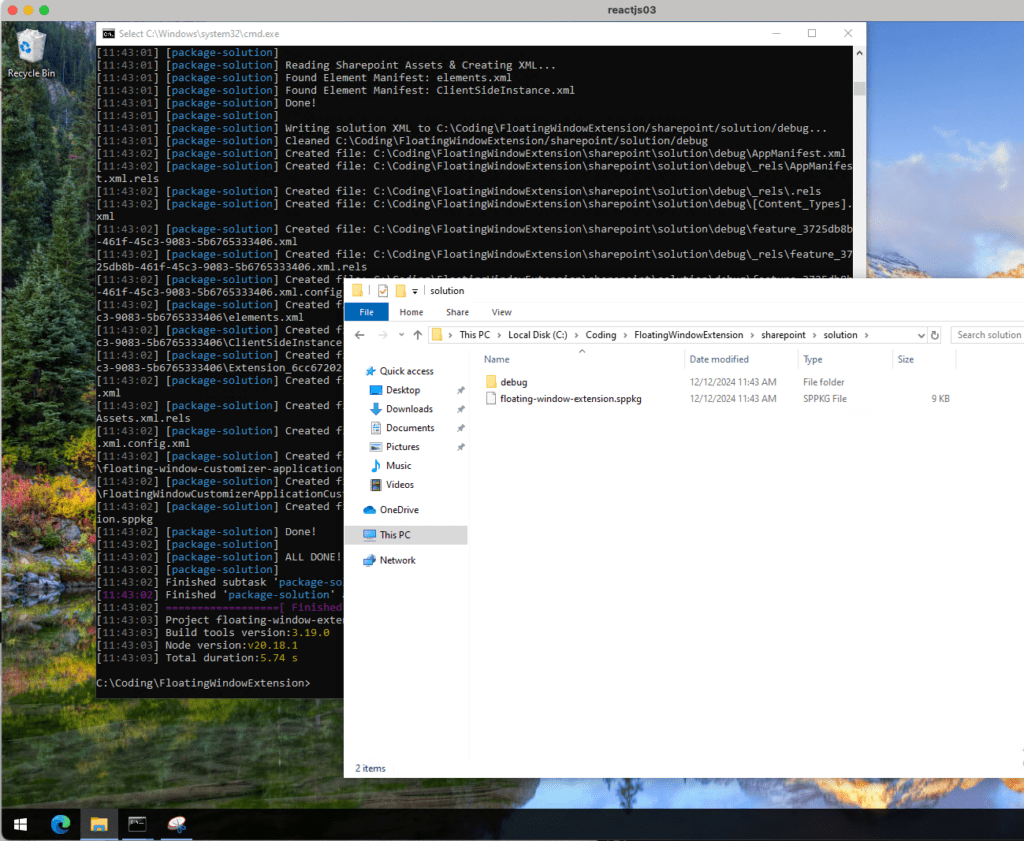
- gulp package-solution –ship (Packages the solution into a file for deployment)
When that completes, we will have a .sppkg file that we can then upload into SharePoint. The file is located in your Project directory at \sharepoint\solution\floating-window-extension.sspkg
Add the Deployment Package to your SharePoint App Catalog.
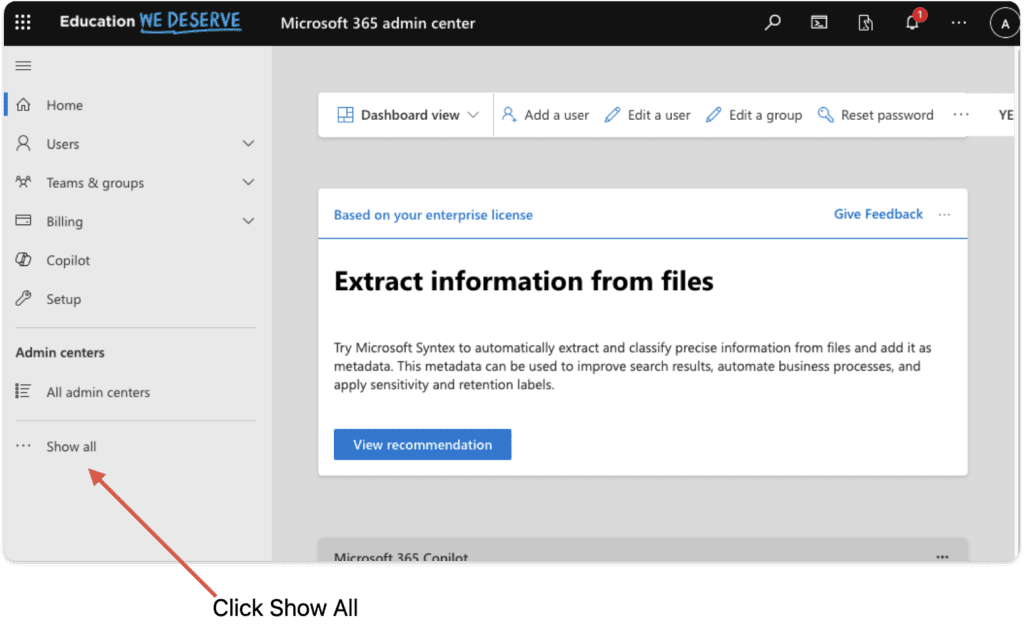
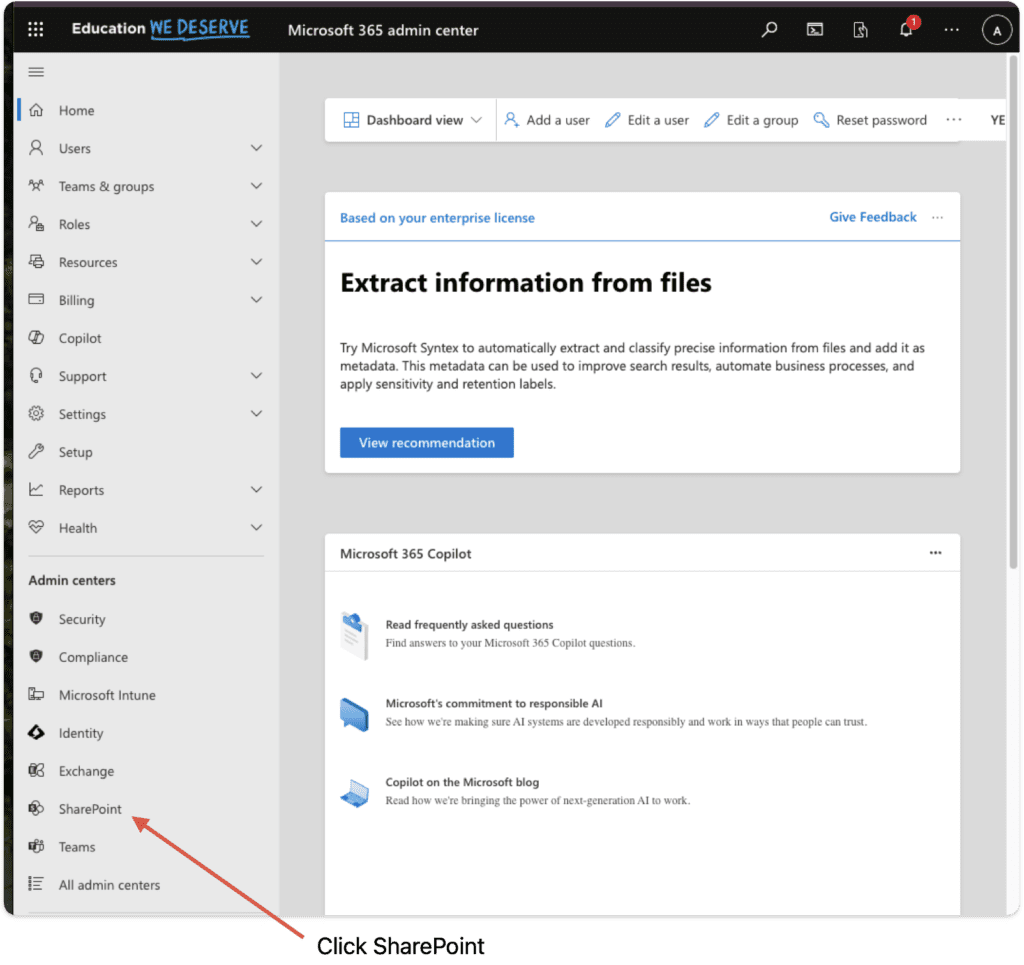
For the next part, make sure you have admin level permissions or provide the file to the SharePoint admin. To get the file into SharePoint, navigate to Microsoft 365 Admin Center and then click Show All.
Then, click SharePoint under Admin centers.
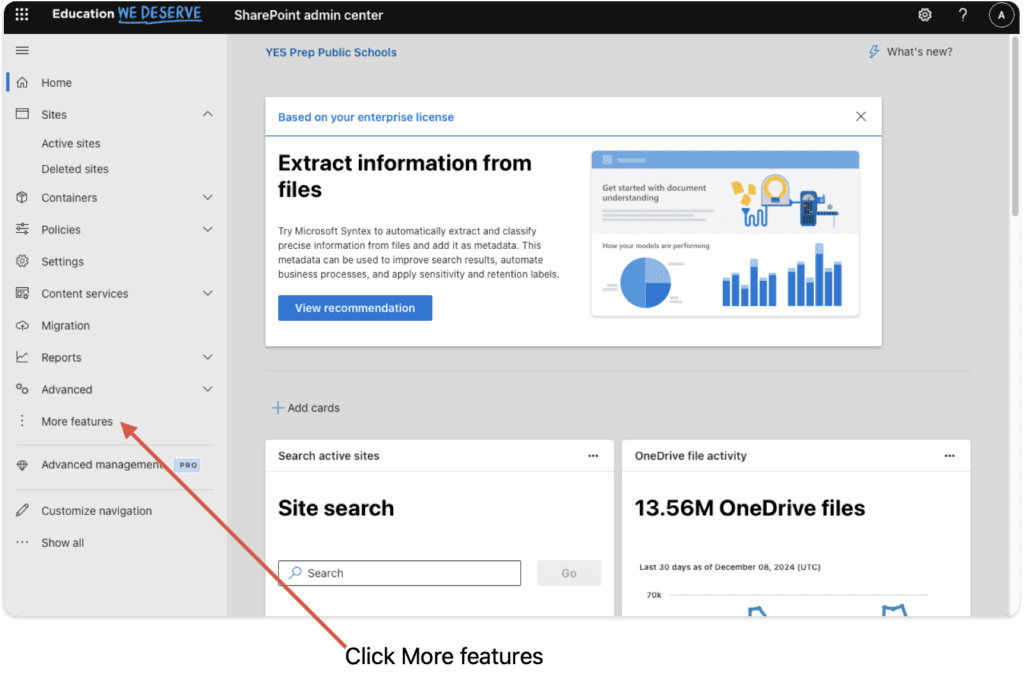
In the SharePoint Admin center, click More Features.
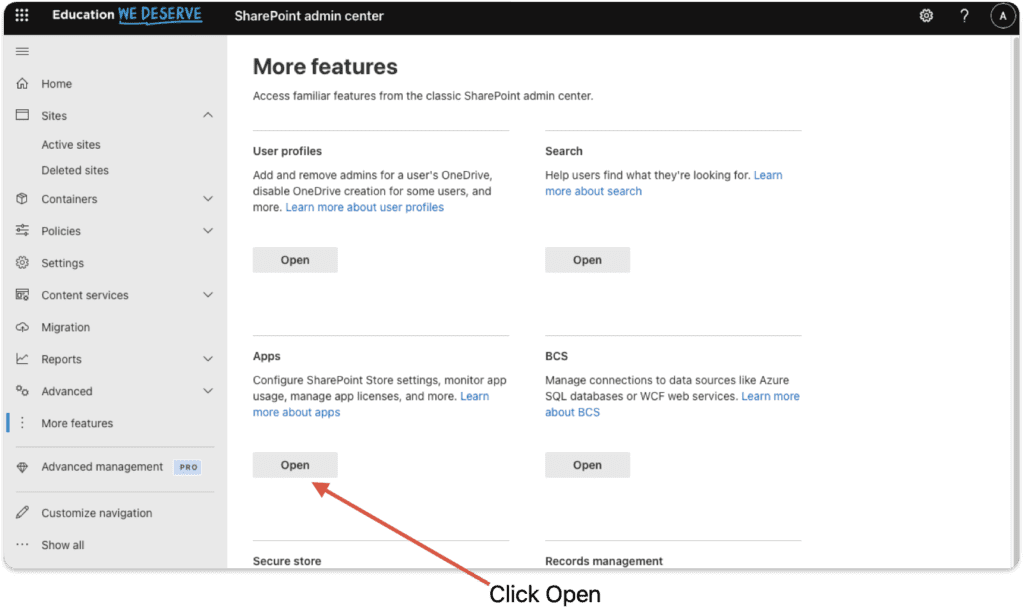
Next, click Open underneath Apps to take us to the SharePoint App Catalog.
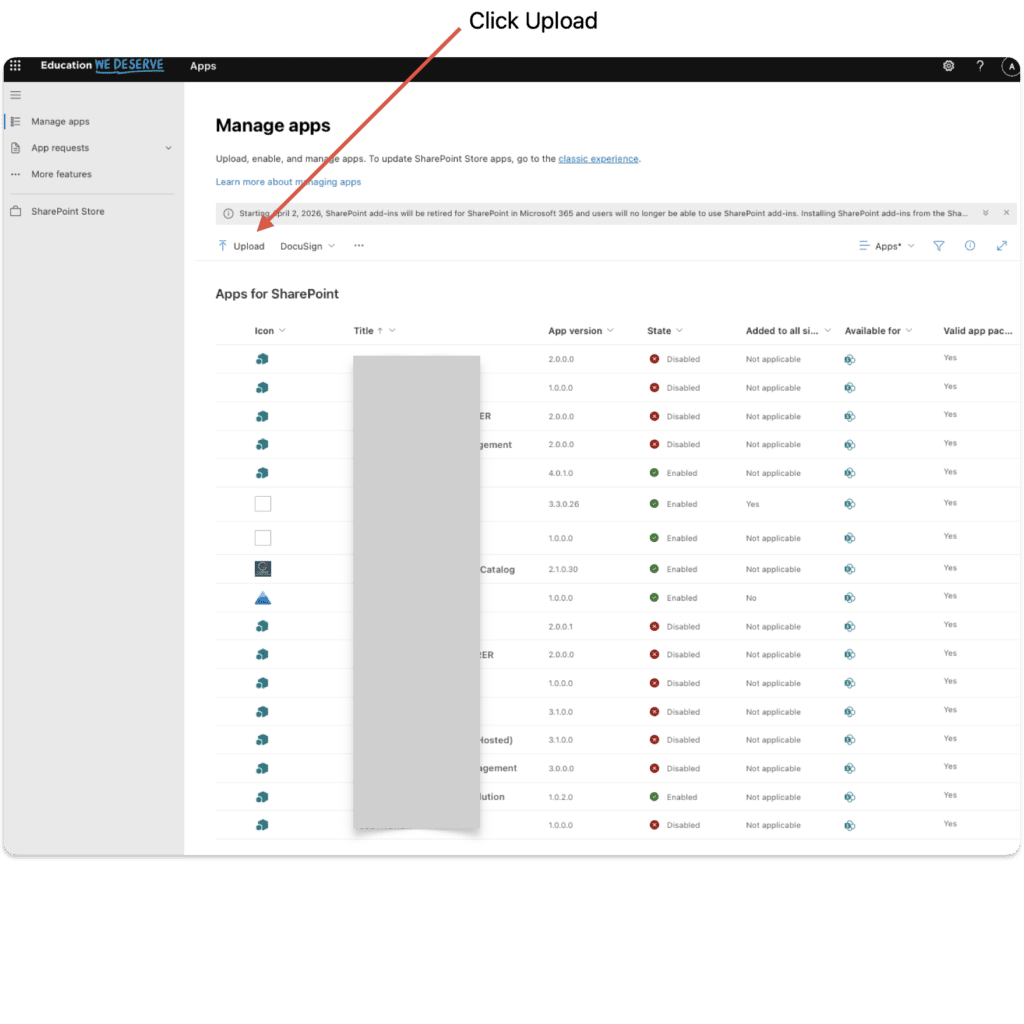
This part is fairly straightforward. Just click Upload and point to the new file we created. If you are worried, this won’t apply to the entire organization since we set the skip value to FALSE. Also, it will not apply until we link to the SharePoint site manually.
Since we added the FALSE flag inside VSCode, the only option that will be asked is if you want to Enable app.
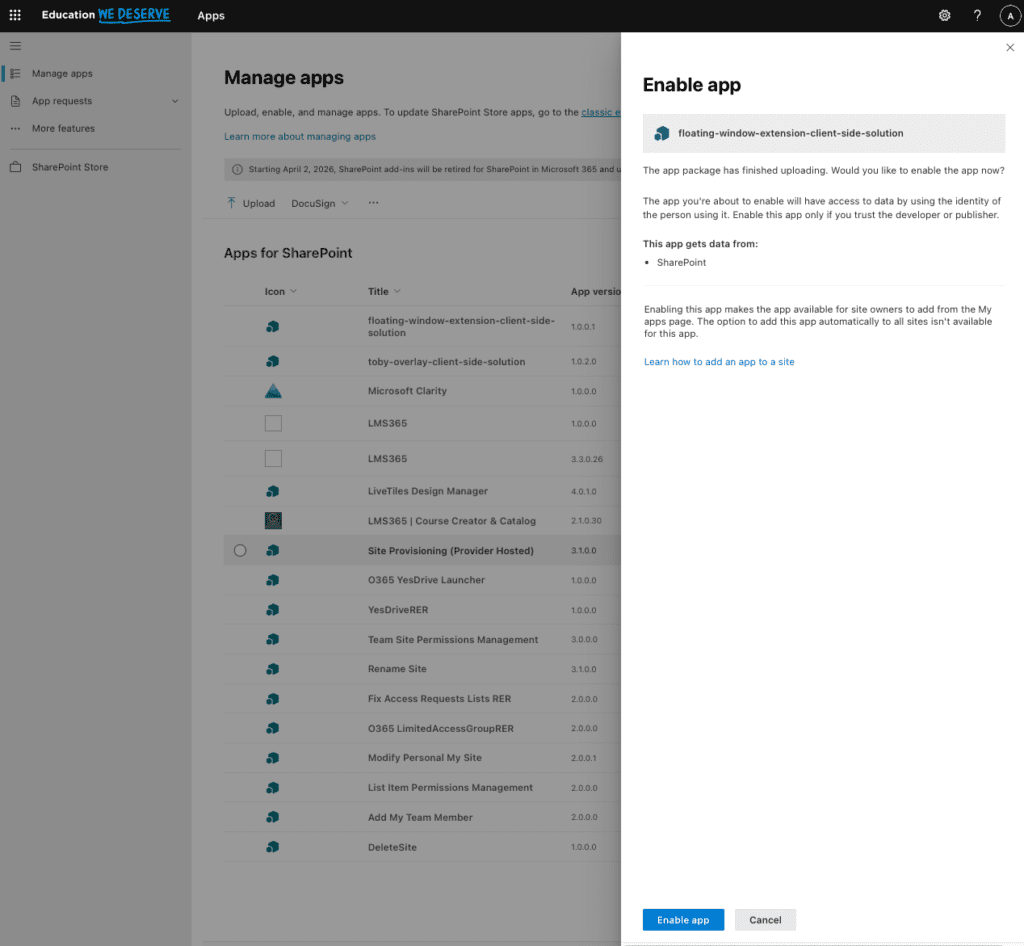
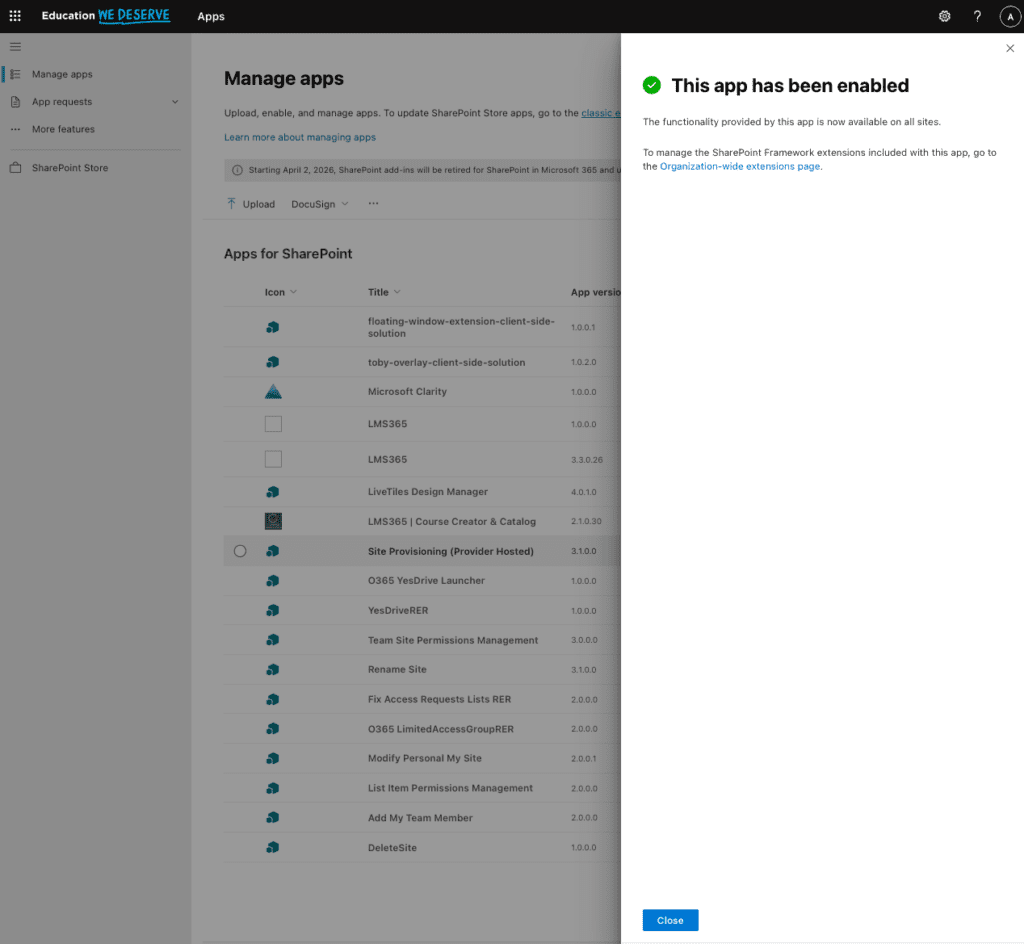
The functionality is now available, but not enabled on any sites. For that, we have to explicitly add it to the SharePoint site.
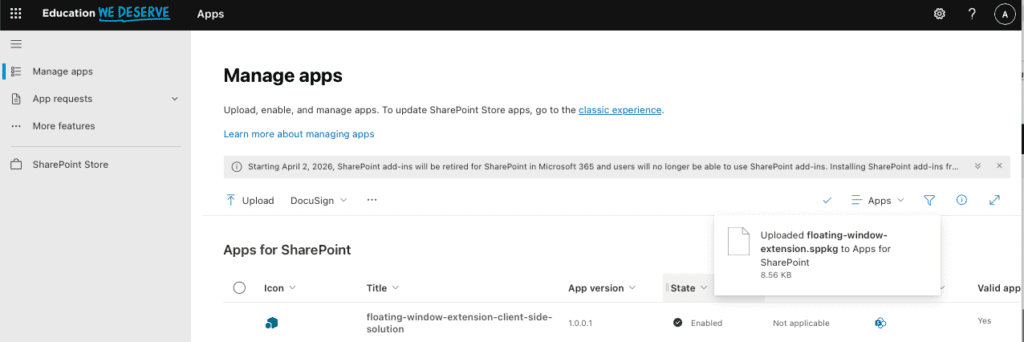
You can see the app was uploaded successfully. Great job.
Link the SPFx Application to the SharePoint site.
Before we apply this to production use, we want to test it out to verify and correct any bugs. For our test, we will link our new embedded code to a test SharePoint site. Shout out to Jon Ngo for letting me use his Test area as a playground.
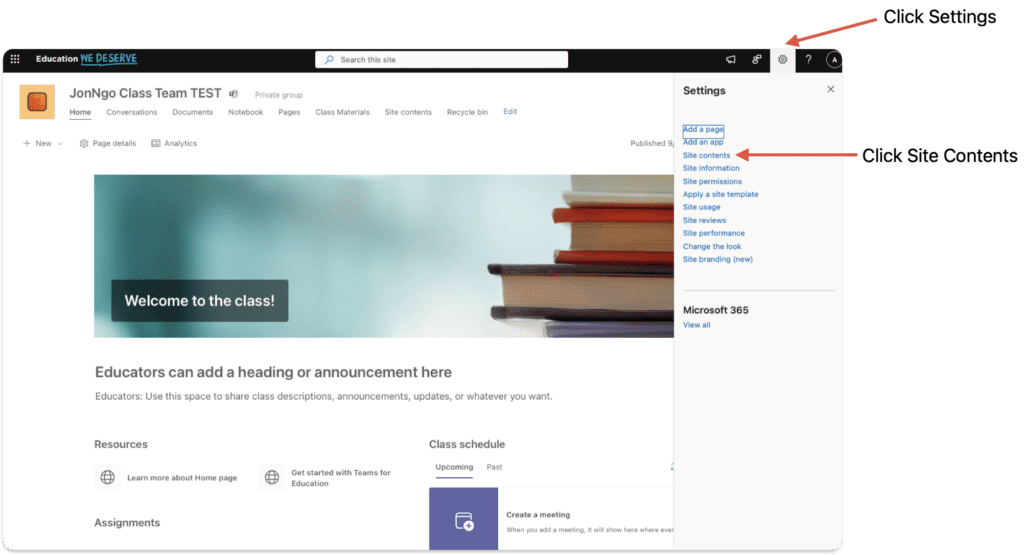
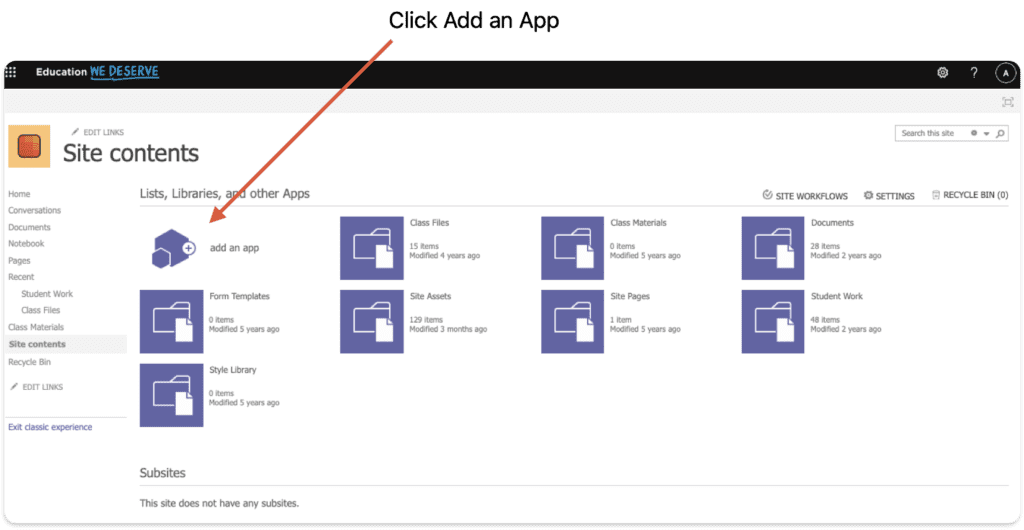
Go to the site you want to modify and click the gear icon at the top right. Choose Site Contents.
Now we are ready to add our app. Click Add an App.
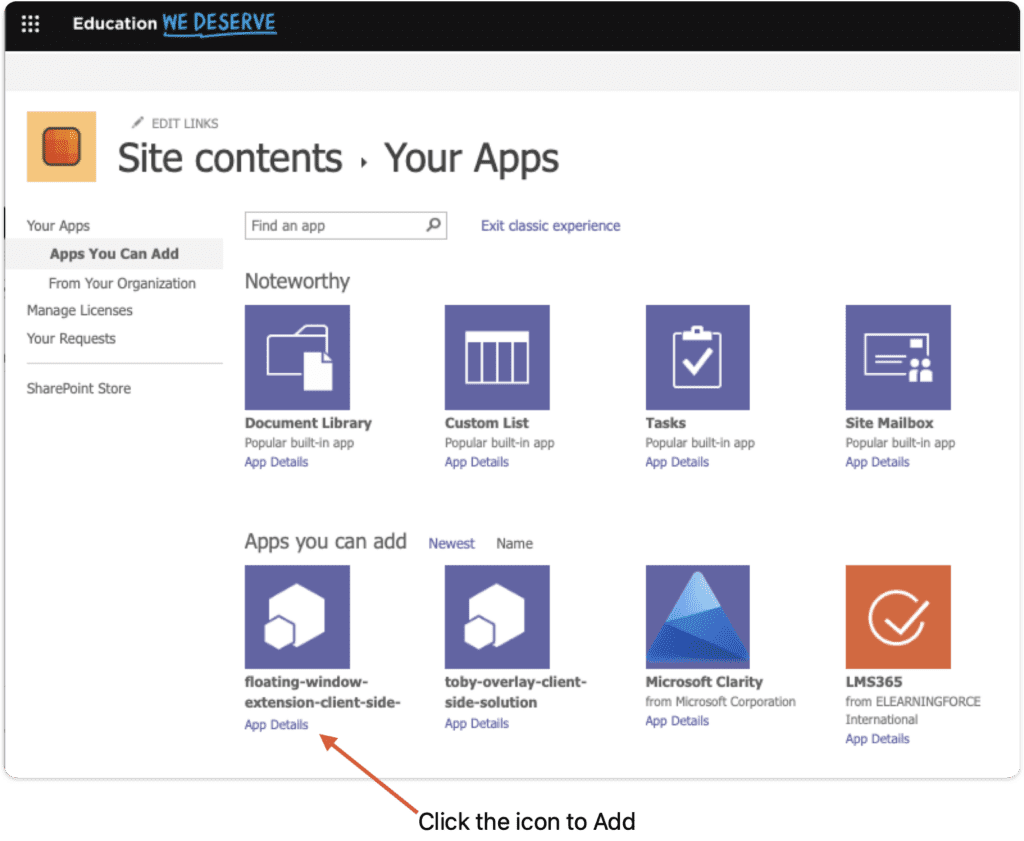
Now all we have to do is select our new App that we uploaded.
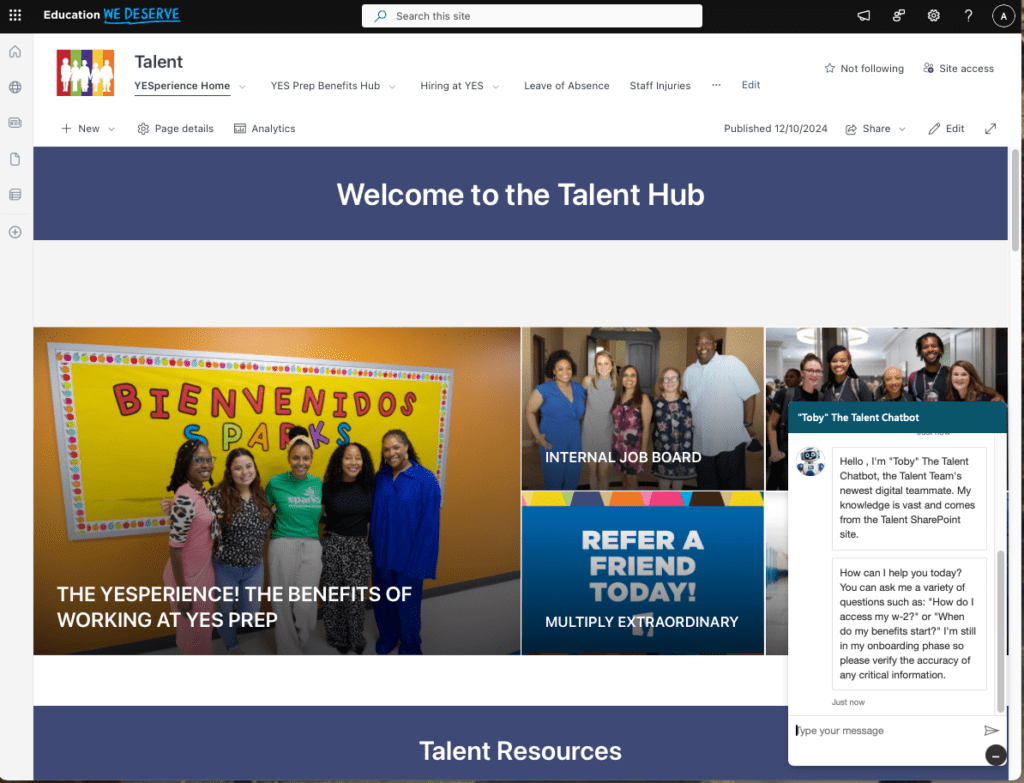
Finally, all we need to do is verify the SharePoint site to see how it looks. Let’s give it a go.
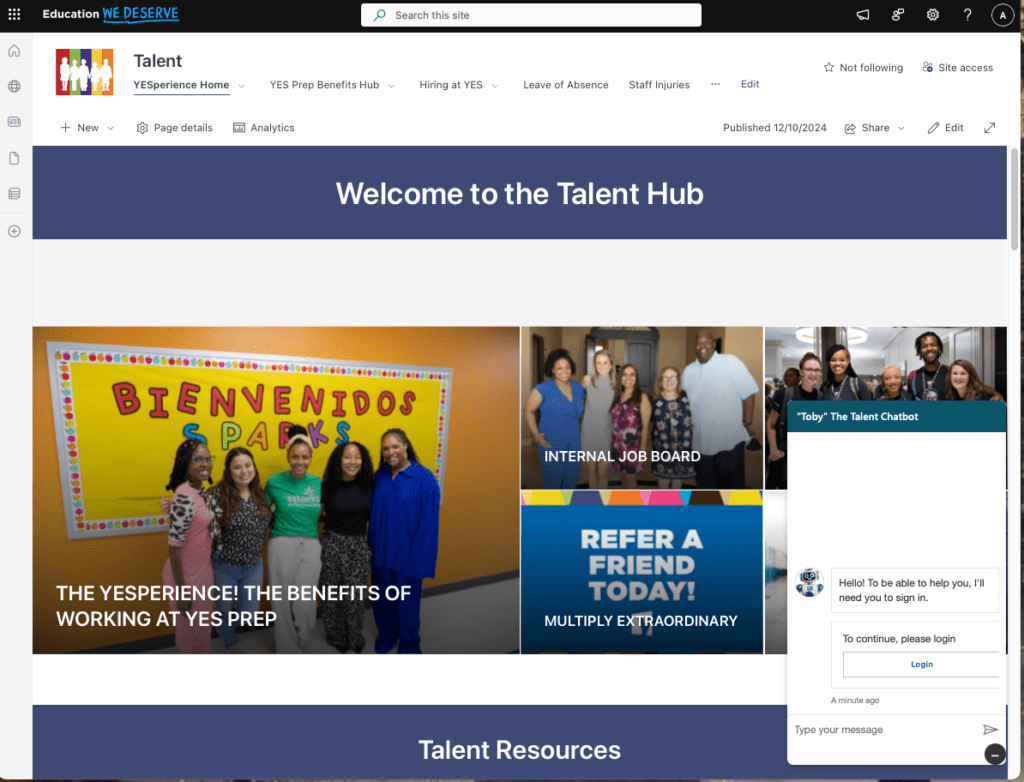
Once you login using MFA you should see the following. If you are curious on how to create your own version of AI that you can embed into SharePoint, I wrote an article you can check out HERE.
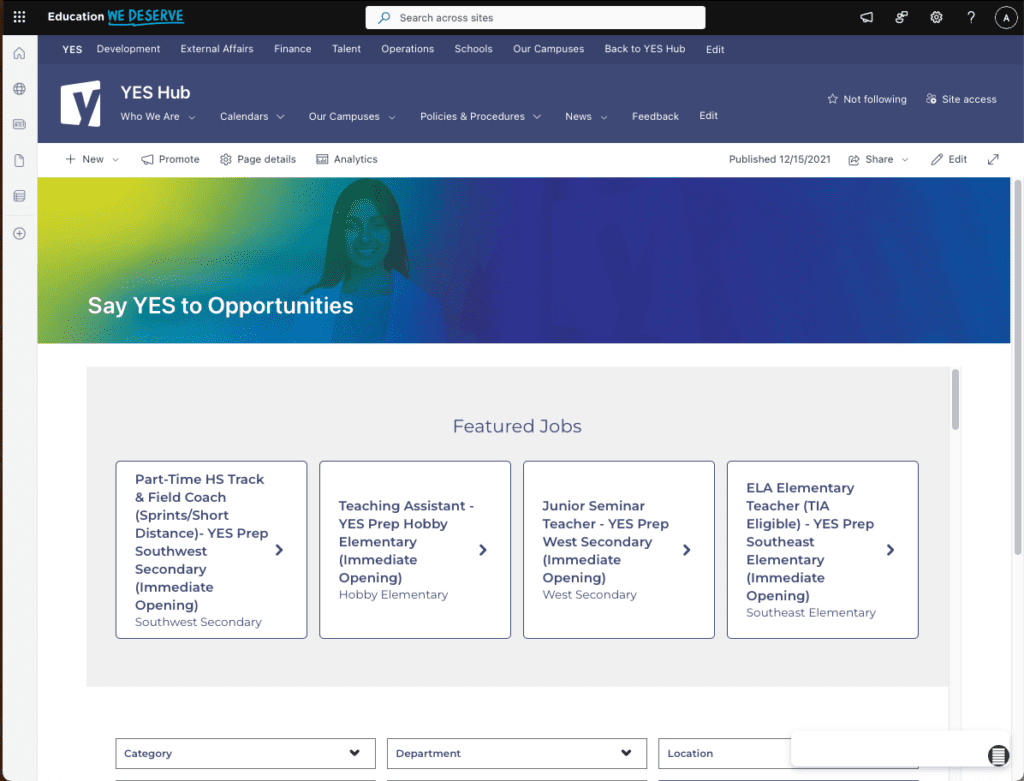
What’s neat is that you can browse around and continue to interact. Let’s click Internal Job Board. As you can see our trusty AI is with us as we are navigating around on these subpages within our SharePoint site.
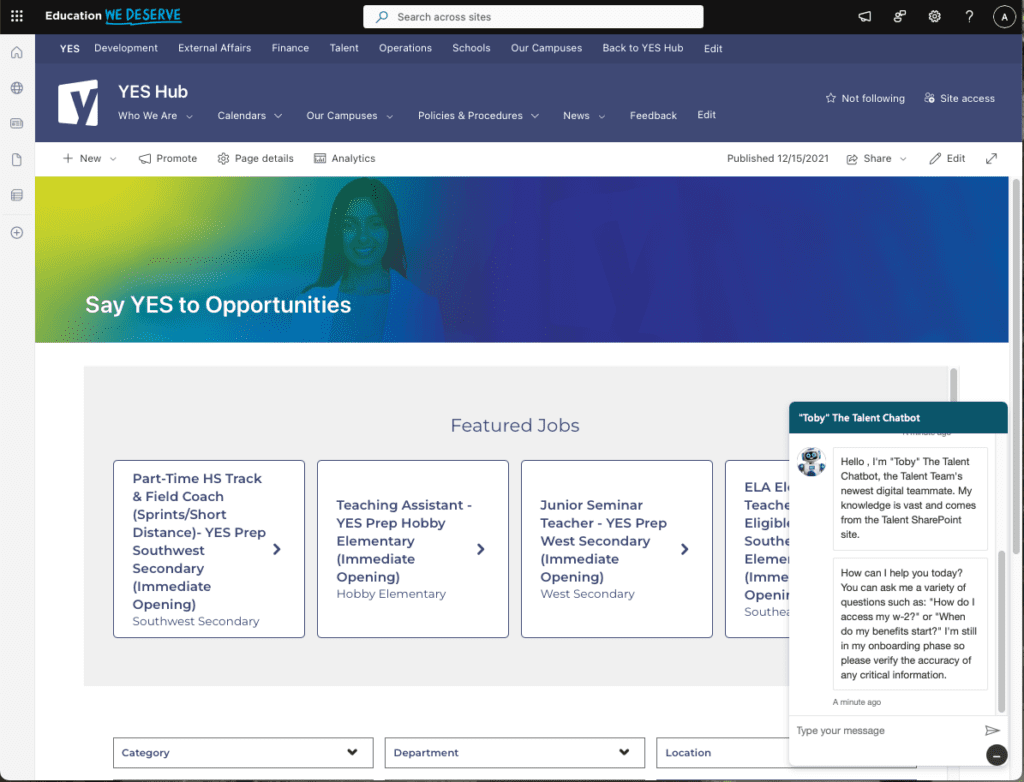
This allows the user to be more immersed in whatever task they are doing while having a large language model to assist. However, if the LLM is not desired, you can simply minimize it.
Closing Thoughts:
And that’s it. If you made it this far you now have the knowledge you need to modify SharePoint to embed additional codes or scripts to perform actions such as an overlay window to contain your own AI interface. Have fun!
References:
SharePointWindowOverlay GitHub – Repository of all the code and steps for inserting your own CoPilot into your SharePoint.
Setup your own AI using CoPilot studio
Using VMware to setup your own VM (Just add VSCode)